Adding HTTPS to your web site
For a good and secure web – and also for faster performance, new APIs on the web such as Service Workers, better search ranking and more – using HTTPS for your web site is key. I’ll walk you through how to easily get started with that here.
I’m not a security expert or server guy, so this was both an interesting exercise for me, as well as documenting it so anyone else can quickly do it as well. Including some hiccups, it only took me 20-30 minutes in total.
Getting a certificate
There are a number of authorities selling certificates, but in my experience, the easiest one to get started with is Let’s Encrypt. It’s also free, and has a number of major sponsors behind it, such as Mozilla, Chrome, Akamai and Cisco.
Fastest way of generating a certificate for your web site, through Let’s Encrypt, is using SSL For Free. Once you’ve done that, you can choose Automatic FTP Verification or Manual Verification.

Once you’ve done that, you get:
- SSL Certificate for your site
- Private key for your certificate
- CA/Chain Certificate
Installing the certificate
Then, depending on your hosting provider, type of service you have or if you’re hosting it on your own, there are varying approaches. In my case, I’m using Media Temple for this web site, and they were very helpful on Twitter and in their online support chat to point me in the right direction.
All I needed to do was:
- Go to the Account Center for my web site. Just as Media Temple has one, I’m sure it applies for most of your hosting options
- Choose to import a SSL Certificate, adding the SSL Certificate, Private key and CA/Chain Certificate I got before.
- Success!
Ok, no. 3 is kind of a lie. When I entered my key in step 2 I just got an error saying my Private key was invalid. Exasperated as you can only get when you work with computers, I panicked a bit and then reached out to see what the issue might be. Then Media Temple’s support gave me the excellent pointer to Error adding cert, Invalid private key discussion on the Let’s Encrypt forum.
Turns out you need to convert your private key to RSA format, which is swiftly done in a terminal using this line:
sudo openssl rsa -inform pem -in /etc/letsencrypt/live/www.example.com/privkey.pem -outform pem | less
Naturally, chance domain and paths above accordingly. Then copy the output and put in/save as your private key.
More advanced setups
If you’re running your own server, or a VM somewhere or just don’t have the simple account center options for your host, I recommend taking a look at these articles for a manual install:
- Taking Let’s Encrypt for a Spin by Tim Kadlec
- Switching to https by Jeremy Keith
Validating your certificate installation
Once installed, a simple way of validating your certificate is using the SSL Checker to find out about any potential issues. Then when you visit your web site using https:// everything should show up fine and be secure. That’s seldom the case in real life, though. Watch out for mixed content, i.e. serving some of your content over https:// and some over http://. None of the content over http:// will show up.
Note: Do NOT use relative paths/protocol-relative URLs, i.e. /css/style.css. It opens up for possible Man-on-the-side attacks, and besides, from http:// you can always request https:// assets, but not vice versa.

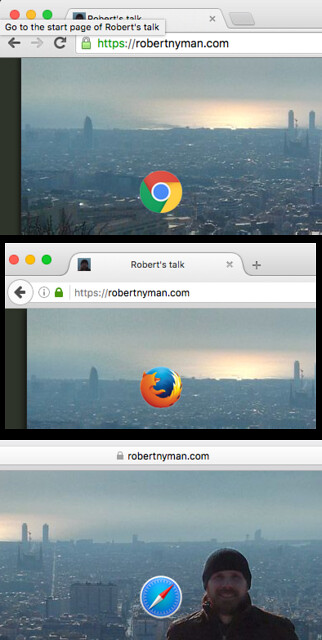
Once secure, in all web browsers, you should also see the padlock icon next to your URL in the address bar. If that doesn’t show, use the great service Why No Padlock? to figure out what your issues might be. My bet is that you’ll spend 1% of the time changing your own internal references to https://, then the remaining 99% figuring out about third-party content and how to securely include that.
Forcing SSL/HTTPS for all requests
Once your web site is secure and safe and running HTTPS smoothly, there’s no reason why you shouldn’t make sure that all requests go through SSL.
As outlined in Force SSL/https using .htaccess and mod_rewrite, here’s a snippet to add to your .htaccess file to ensure that:
RewriteEngine On
RewriteCond %{SERVER_PORT} 80
RewriteRule ^(.*)$ https://www.example.com/$1 [R,L]
Happy HTTPS-ing! It’s totally worth it. 🙂